Choosing Your First Watercolor Set
Everything you need to know about pigments, quality levels, and building a starter palette that won't frustrate you.
Four beginner-friendly painting projects you can complete in one sitting. Each one teaches specific skills you'll use in more complex work later.

You don't need to tackle a complex seascape or detailed portrait for your first watercolor painting. The projects I'm sharing here are specifically chosen because they're doable in 60-90 minutes and they teach you fundamental skills that'll carry into everything else you paint.
The key difference between beginners who keep painting and those who quit? They start with projects that actually work. Projects where the outcome feels like success, not frustration. Each of these four teaches a specific technique — wet-on-wet, layering, dry brush, and color mixing — without feeling overwhelming.
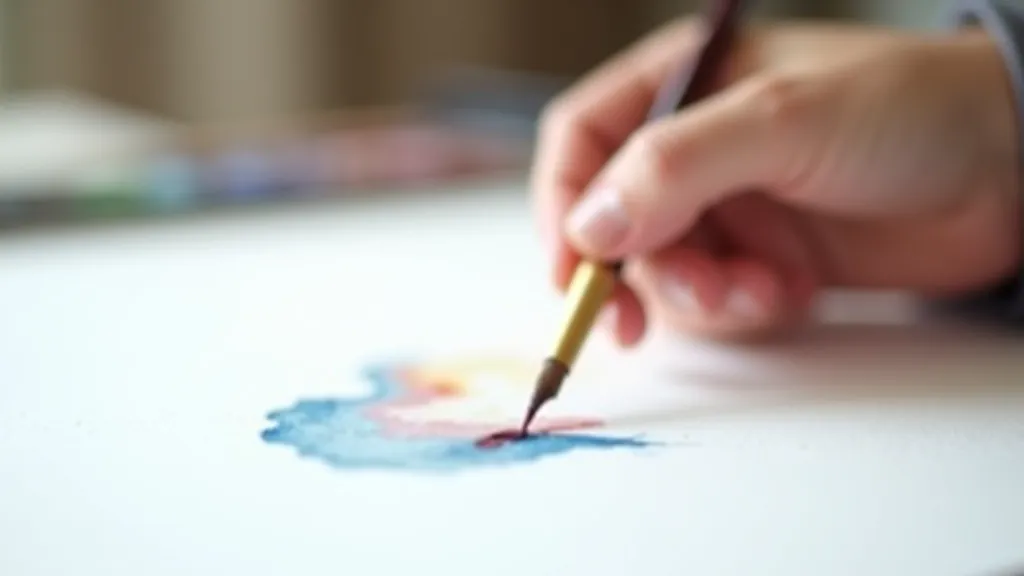
This is where everyone should start. You're learning wet-on-wet technique without pressure. Wet your paper completely, drop in sky colors while it's wet, and watch them blend naturally. No pencil sketch needed — just pure color and water.
What you'll master: controlling how much water is on your paper and how pigment moves when it meets wet paper. This skill is foundational. You'll use wet-on-wet for skies, water, and soft backgrounds in almost everything you paint later.
Time needed: 20-30 minutes. Materials: Paper, three colors (we'd suggest ultramarine blue, cerulean, and cadmium yellow), and a large round brush. Don't overthink it — this is about observing how water behaves.

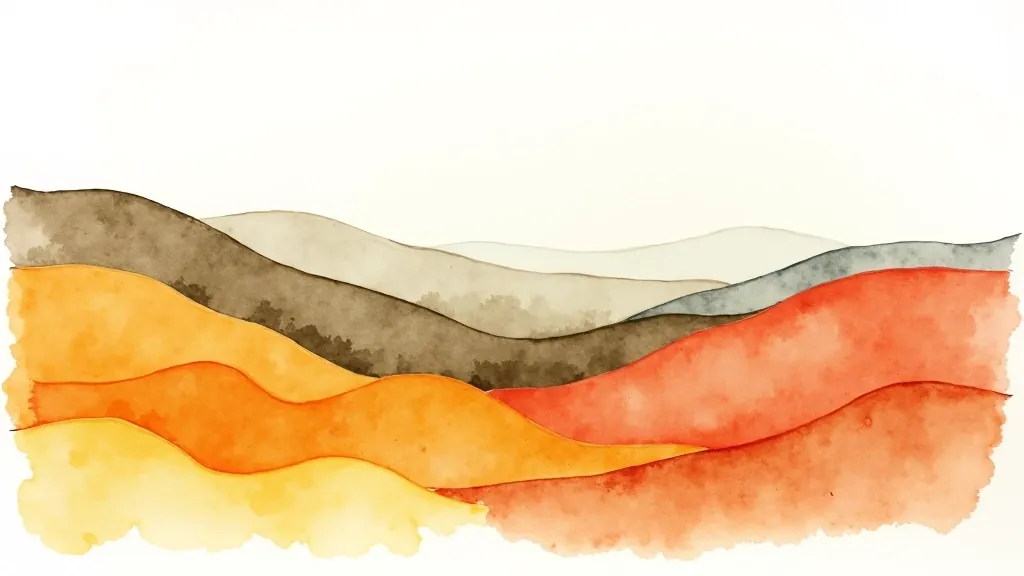
Once you've got wet-on-wet down, layering is the next skill. You'll paint a distant hill in light blue, let it dry completely, then add a middle-ground hill in a warmer color on top. Finally, a dark foreground layer. It's simple but it teaches you depth and how colors sit on top of each other.
The important part: each layer has to be bone dry before you add the next one. If you're impatient here, colors will muddy together. Most people use a hair dryer on cool setting to speed this up. Not cheating — just practical.
Time needed: 30-45 minutes (including drying). This teaches you patience and the principle of atmospheric perspective. You'll see immediately how color temperature affects how far away something looks.
This article provides educational information about beginner watercolor techniques and projects. Results vary based on individual practice, materials quality, and personal artistic development. The timeline estimates (20-30 minutes, etc.) are approximate and reflect typical beginner experience. Every person learns at their own pace — some will finish faster, others may need additional sessions. These projects are suggestions for skill-building, not prescriptive steps everyone must follow exactly. Your artistic journey is unique to you.
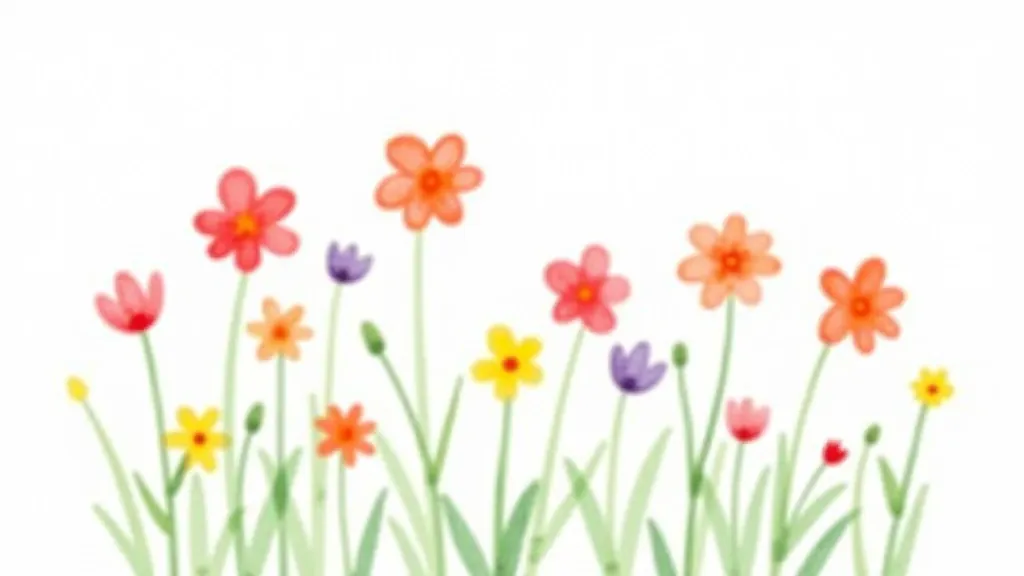
By now you've got water control and layering down. Time to loosen up. Wildflowers teach you not to overthink. You're making simple shapes — circles for flower heads, lines for stems — and letting color suggest the detail rather than painting every petal.
Start with a light wash for background greens. Once dry, add stems in a darker green using a smaller brush. Then the flowers — just dots and simple shapes in reds, yellows, purples. The magic happens when you resist the urge to make everything perfect. A wildflower painting should feel sketchy and spontaneous.
Time needed: 35-50 minutes. This one teaches you the difference between tight control and intentional looseness. You'll notice your hand relaxes more with each flower, and that's exactly the point.

Your final project brings it all together. Pick one simple object — an apple, a coffee cup, a lemon. Sketch it lightly with pencil. Now you're mixing colors to show dimension. Light side gets warm yellows and oranges. Shadow side gets cool purples and blues. This is where color mixing becomes real.
You're not shading in the traditional sense. You're using color temperature to show form. The object doesn't need to be photorealistic. It just needs to show that you understand how light and shadow work, and that you can mix colors intentionally.
Time needed: 40-60 minutes. By finishing this one, you'll have used every fundamental technique and you'll know you can paint. You'll have four finished pieces that actually look like something, not just experiments.
After you've finished these four projects, you've got the foundation. You're not a beginner anymore — you're someone who knows how to handle water, layer colors, and think about composition. The next step isn't learning new techniques. It's repeating these same ones with more complex subjects.
Paint another sky. Paint more hills with different color combinations. Do a dozen loose flower studies. Create still life paintings of different objects. The techniques don't change — only the subject matter gets more ambitious. That's how you build real skill, not by jumping to advanced techniques before you've mastered the basics.
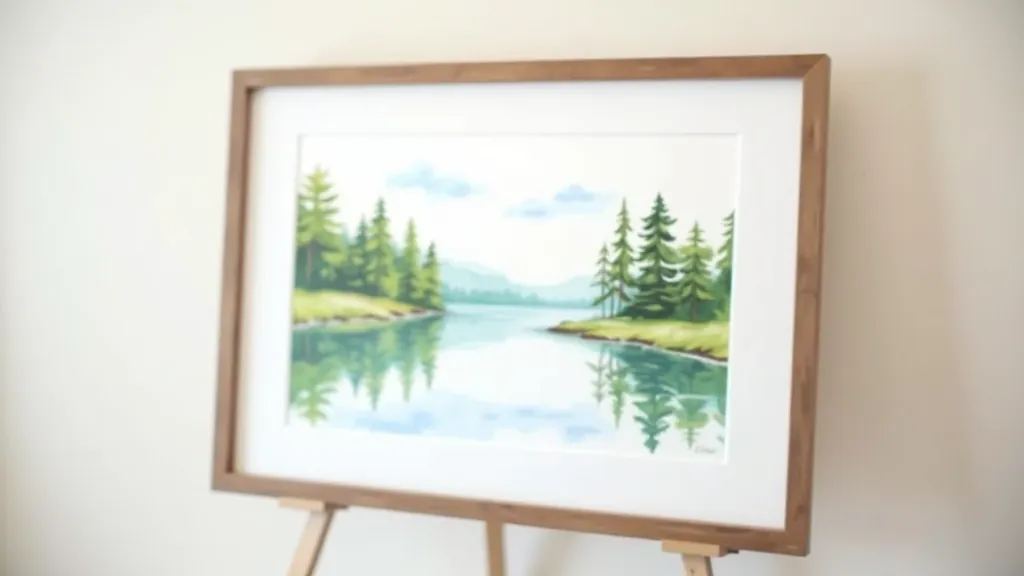
Most importantly? Keep the finished paintings. Don't throw them away thinking they're not good enough. In six months you'll look back and see exactly how much you've improved. That's motivation to keep painting.