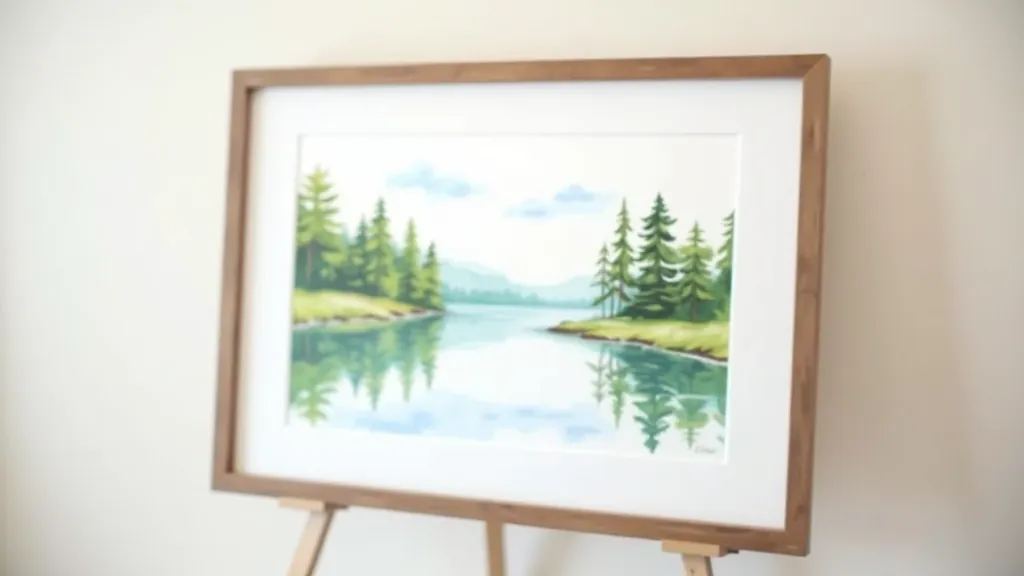
Choosing Your First Watercolor Set
Everything you need to know about pigments, quality levels, and building a start...
Master wet-on-wet, glazing, and dry brush techniques. These three approaches form the foundation of nearly every watercolor painting.

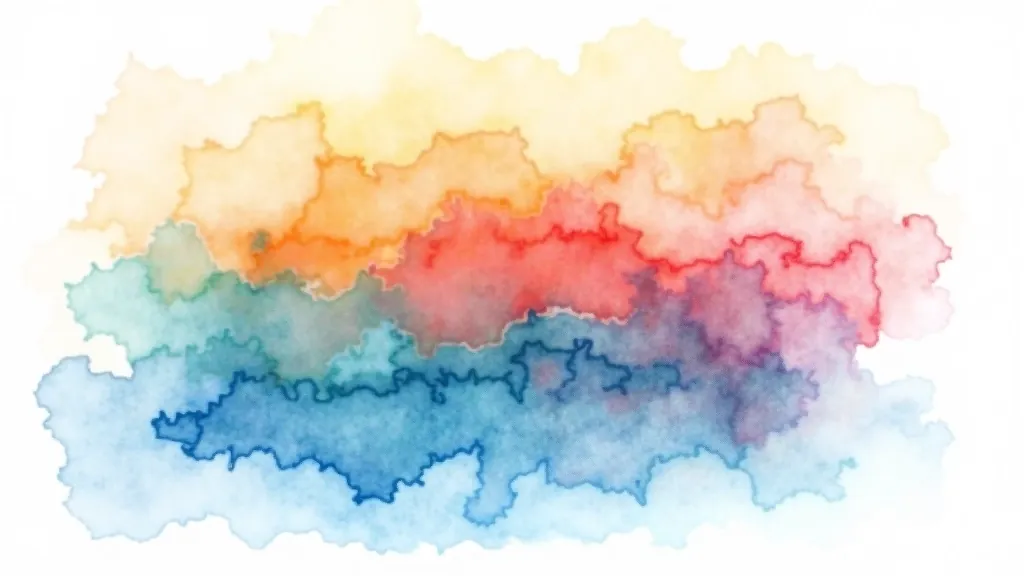
You don't need to memorize dozens of watercolor methods. Honestly, most paintings you'll ever create rely on three core techniques — and once you understand them, everything else becomes an extension of what you already know.
The thing about watercolor is that it rewards understanding over complexity. You'll see these three techniques appear in professional work, in paintings from the 1800s, and in contemporary art. They're not trendy. They're foundational. And they're more accessible than you'd think.
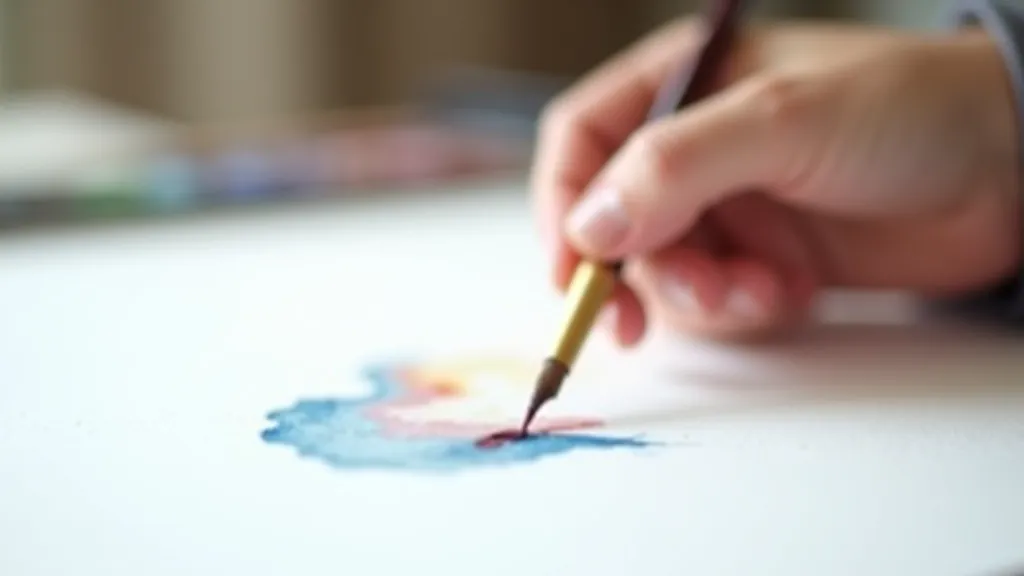
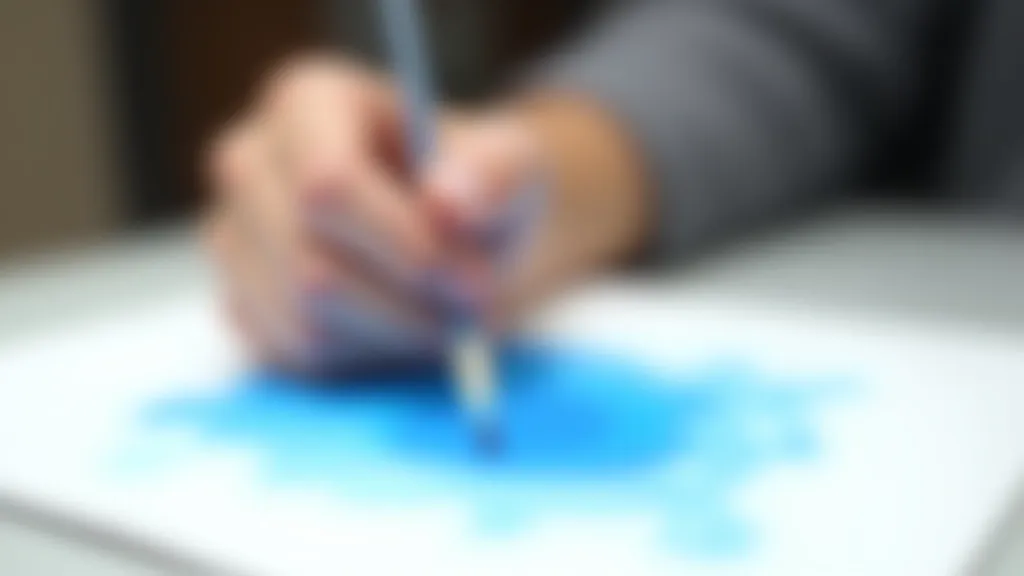
Wet-on-wet is where most people start, and it's the most forgiving of the three. You're essentially painting on a damp surface, which means your pigments will flow and blend on their own. There's less control, sure — but that's also where the magic happens.
The process is straightforward. You wet your paper with clean water using a large brush. Don't oversaturate it, but make it noticeably damp. Then you drop in color while the paper's still wet. The pigment spreads naturally, creating soft edges and unexpected blends. Skies, water, and atmospheric effects practically paint themselves.
Pro tip: Control your paper's moisture level. Too wet and colors disappear. Not wet enough and you lose the soft-edge effect. It takes maybe two or three attempts to find your sweet spot.
You'll use this technique constantly — not always as your entire painting, but for backgrounds, transitions between colors, and creating atmospheric depth. It's particularly useful when you don't want hard edges. Think sunset skies, misty landscapes, or soft washes of color.
Glazing is pure layering. You paint one color, let it dry completely, then paint another transparent color on top. It's slower than wet-on-wet but gives you absolute control over where colors interact.
Here's what makes it different from mixing colors on a palette: when you glaze, the colors blend optically on the paper rather than physically in your brush. Red glazed over yellow creates a different orange than mixing red and yellow together. It's richer, more luminous, more alive somehow.
This technique requires patience. Each layer must be completely dry before the next goes down — and watercolor dries fast, usually 5-10 minutes depending on humidity and pigment thickness. Build up shadows gradually. Create depth by layering. You'll notice paintings that seem to glow from within? That's glazing at work.
Glazing also fixes mistakes better than other techniques. Unhappy with a color? Let it dry and paint over it. Unlike wet-on-wet, where accidents happen fast, glazing gives you time to think and adjust.
Dry brush is the opposite of wet-on-wet. You're using minimal water, working on dry paper, creating visible brushstrokes and texture. It's your detail tool. Your texture creator. Your way to add crispness and definition.
The technique is simple but requires a slightly different approach. Your brush should have paint but not be dripping wet. You'll see the individual bristle marks. This works brilliantly for foliage, tree bark, rough surfaces, and any texture that needs definition. Grass becomes individual strokes instead of a smooth wash. Wood grain appears naturally.
Common mistake: Using too much water with dry brush. The whole point is visible brushstrokes. If it's too wet, it becomes another wet-on-wet effect. You want texture. You want to see where your brush went.
Dry brush brings paintings to life. It's what you use after you've laid in your wet backgrounds and your glazed shadows. It's the final layer that adds energy and detail. Most finished paintings have dry brush work somewhere — usually in foregrounds, on focal points, or wherever you need crisp edges.
Real paintings aren't painted with just one technique. You'll start with wet-on-wet for atmosphere, layer in glazes for depth and color, then finish with dry brush for detail. It's not one or the other — it's all three in conversation.
A landscape might begin with a wet-on-wet sky that bleeds naturally into the horizon. Then you glaze shadows to build depth in the middle ground. Finally, dry brush brings forward trees into sharp focus and adds texture to rough ground. The techniques aren't competing. They're each solving different problems in the same painting.
Best for: Soft backgrounds, skies, atmospheric effects
Characteristics: Unpredictable, flowing, soft edges
Best for: Building color depth, layered shadows, luminosity
Characteristics: Controlled, transparent, glowing
Best for: Texture, detail, foreground elements
Characteristics: Visible strokes, defined edges, tactile
This article provides educational information about watercolor painting techniques. Everyone develops their own approach to these methods — what works for one artist might feel completely wrong for another. The techniques described here are starting points for exploration, not rigid rules. Watercolor rewards experimentation, so don't hesitate to break these principles once you understand them.
You don't need mastery of these three techniques to create paintings you're proud of. You just need to understand them well enough to know which one solves the problem in front of you. That understanding comes from trying them, making mistakes, and trying again.
Start with wet-on-wet since it's the most forgiving. Spend a few sessions just playing with water and pigment, watching how colors behave. Then move to glazing — it'll teach you patience and show you how transparent layers create depth. Finally, experiment with dry brush to discover how texture brings life to your work.
These three techniques are in every watercolor painting worth studying. They're not advanced. They're not mysterious. They're just the foundation — and once you've built it, you'll have a thousand directions you can explore from there.